Rose tinted.
I had every intention to publish regular posts about the ongoing renovation, but as you can probably tell, this fell by the way side…


As I sit here now compiling this post retrospectively that in itself has pros and cons. I have forgotten, or should I say chose, to ignore the challenges in my documentary and, instead, I will celebrate the accomplishments.
And so it is with rose tinted spectacles I look back at this build.


We are just a matter of weeks away from having our first guests stay, so here, month-by-month, are our best bits.
September saw Bobby undertake the decking. Quietly and methodically he measured up and drew up plans. He watched videos, sought advice and within weeks he’d finished our new social setting. It’s solid as a rock now with concrete footings. In the summer it will feel like an extension of the inside, joining us up to the boat dyke.

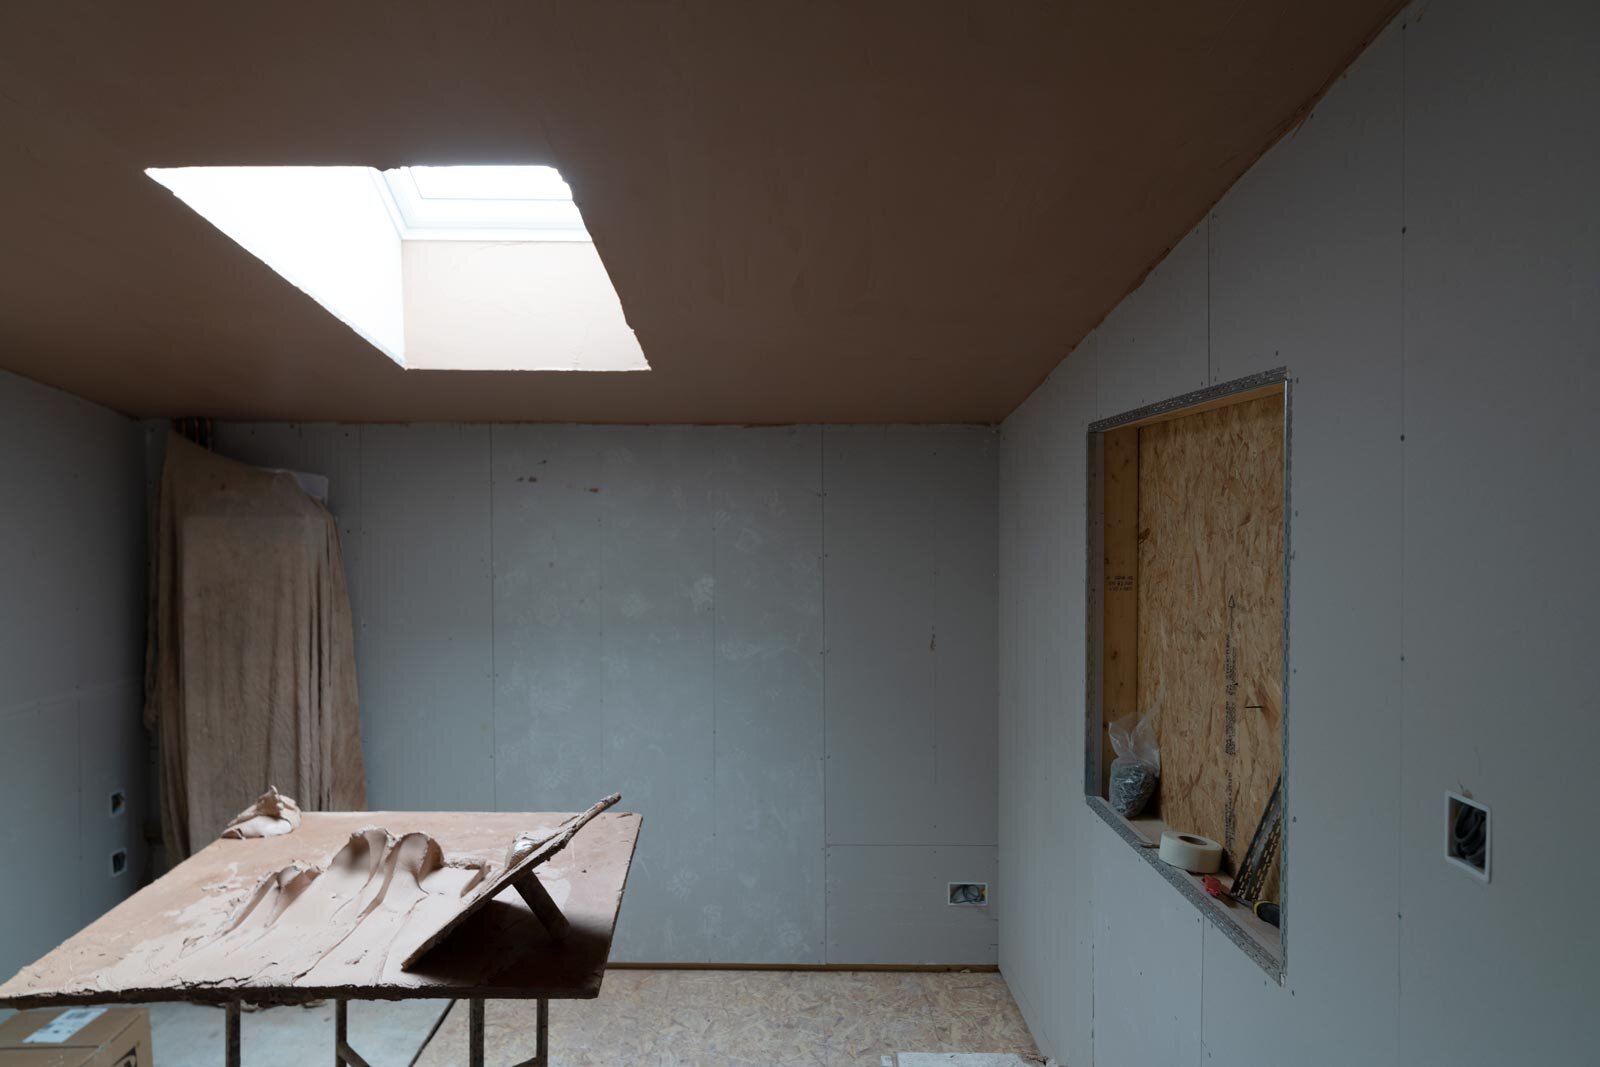
We can’t claim to say we’ve created a passive house but we are confident it’s a very well insulated cabin. The lining is double what was there initially and from ‘cold’ the cabin can be heated throughout in 10 minutes.

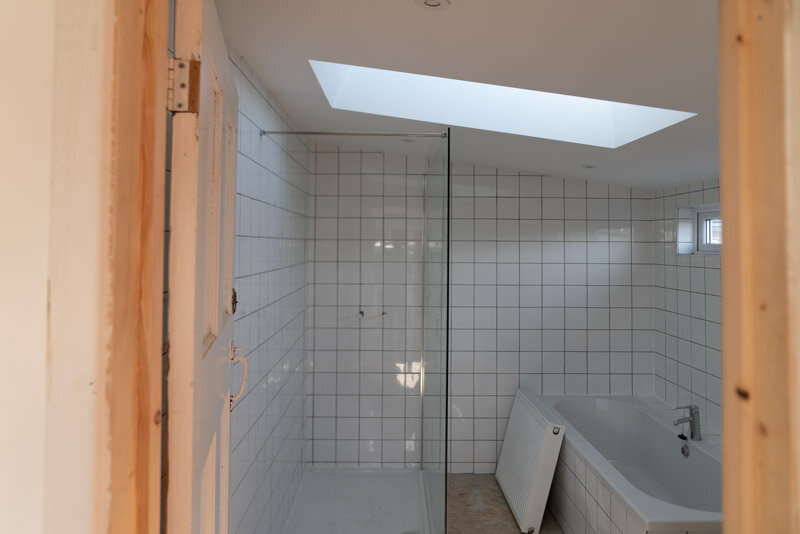
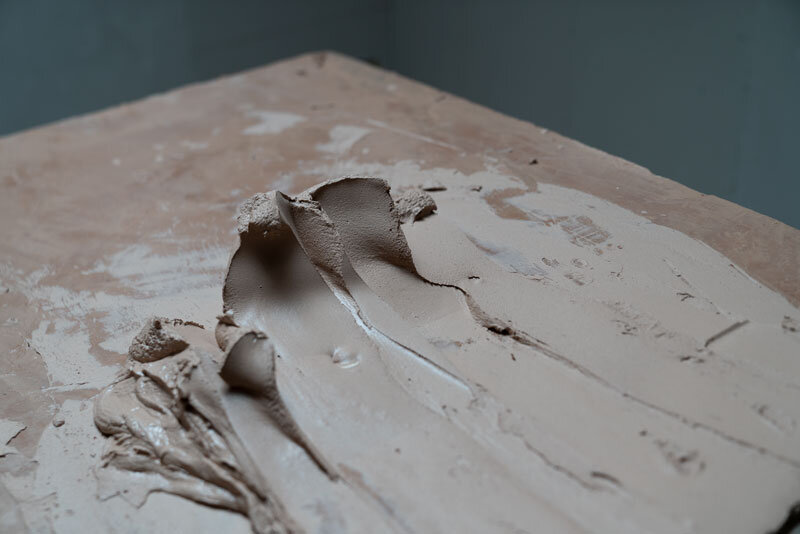
In October, the cabin started to take shape, the plasterboard covered the insulation. The plaster covered the plasterboard. And the painting was applied to the plaster. This was when we could really visualise the space.
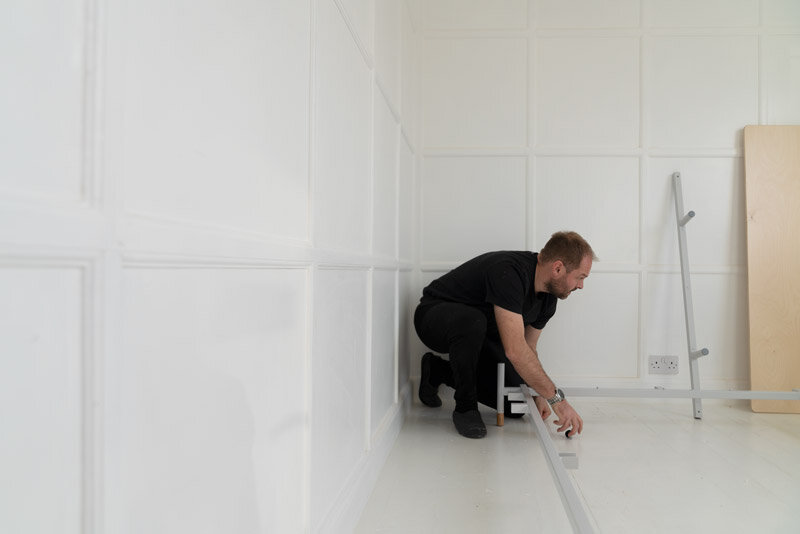
Early on we agreed the bedrooms needed to be restrained and uncluttered (by removing all that was unnecessary or unconducive to a good night’s sleep). Key to enabling that was fitting internal cupboards for coats, suitcases and any other paraphernalia that didn’t need to be in sight (or constant use).
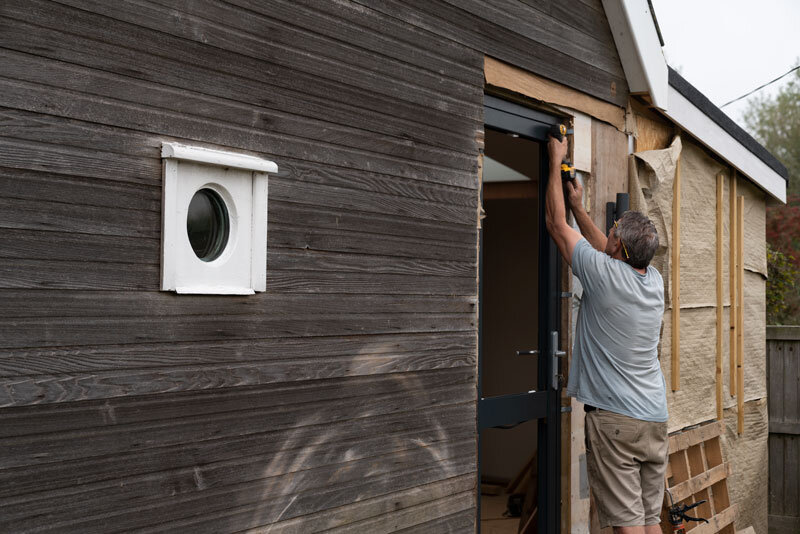
The doors and windows going in was a huge milestone, it meant we were now secure and also edging closer to the finish line.

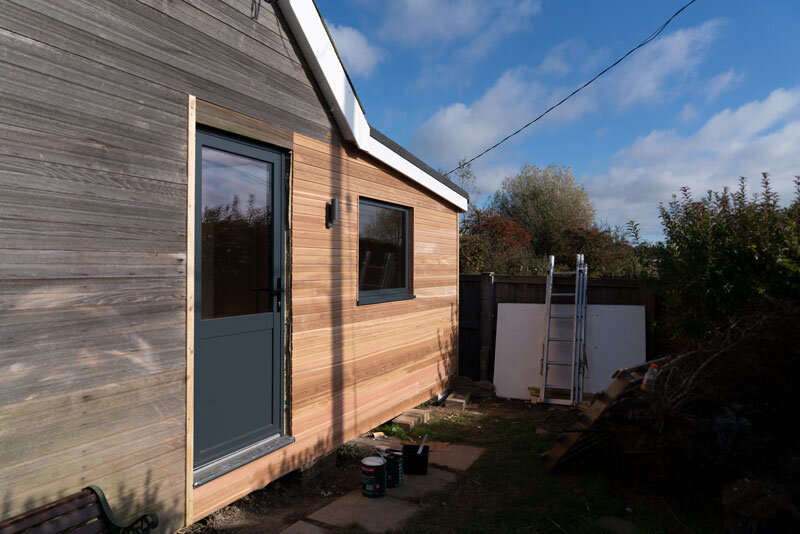
Following our trip to Dungeness we were adamant if we bought a wooden building, we would stain it black. Visually it was appealing but it also became more important when the new (orange in tone) cedar cladding was added to the extension. The new and the old were a real contrast. Although when painted black it’s still clear what’s old and new, it is no where near as obvious now.

November was the month for finishing touches. Bobby installed a path and gate. I laid the shingle in the courtyard. The plywood flooring went down, and all of the indoor painting took place by our good friend Tom of Deco Rated. We had our first stay mid November. We spent the best part of the day assembling furniture and although it wasn’t finished, we toasted with Champagne and treated ourselves to a take away for our first stay.

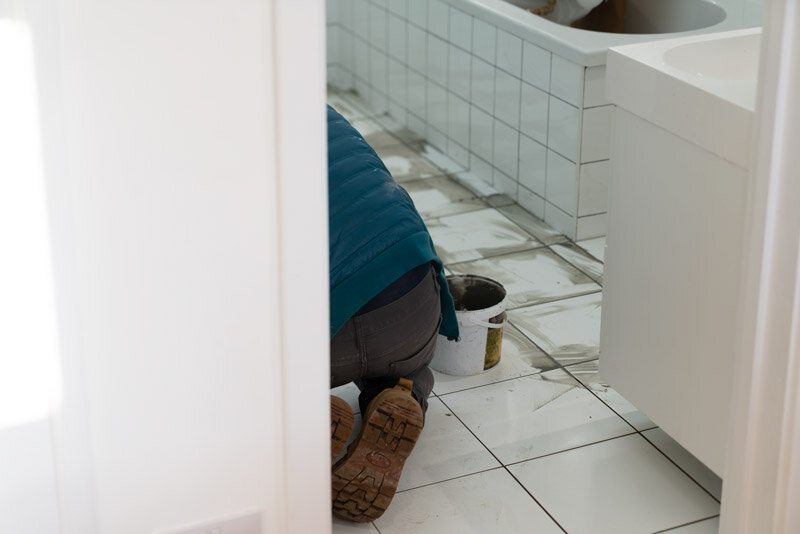
In December, the bathroom floor tiles went down over the chipboard and the back splashes in the kitchen.
Throughout the entirety of the project I filmed key moments and look forward to showcasing our first short film of ‘our journey of renovating the cabin’.
We’re by no means finished and I’m sure there will always be ongoing tweaks to make, but as I curate this post, I really can recall fondly the beautiful moments working with a great team of people.
–––
Details
Builder – Pat Baker
Decorator – Deco Rated
Windows – Velux
Words and pictures by Fiona Burrage.
